Getting started with CentOS Web Panel
After installing CWP, it must be configured for further operation.
Access to the CentOS Web Panel is carried out through ports 2030 and 2031, so to enter the panel you need to follow the link http://your_server_ip:2030 or https://your_server_ip:2031 in your browser
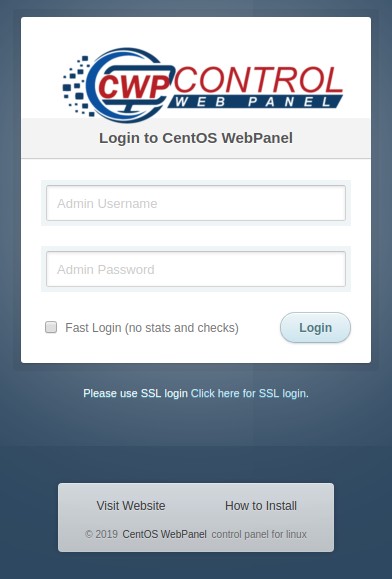
You will see a login form:

To enter the panel, use root as the login and the root password for your server.
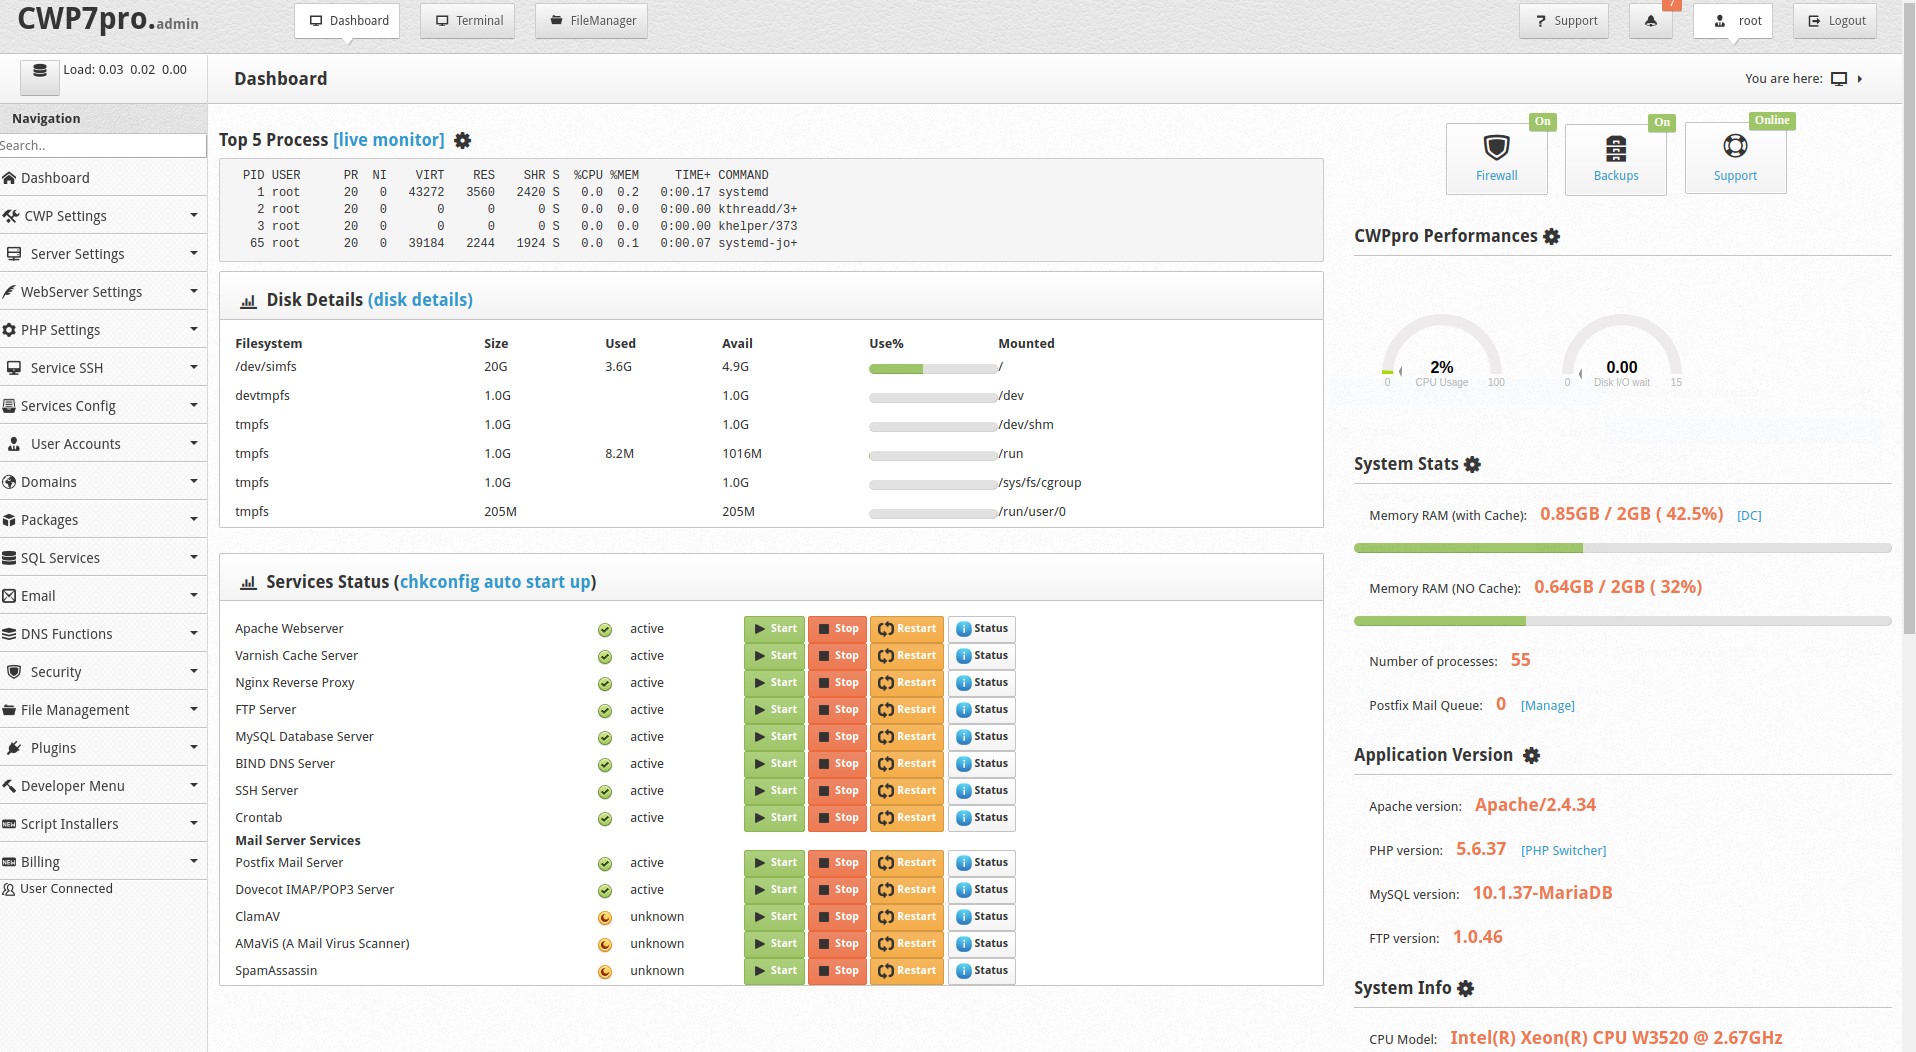
After logging in, you will see the main menu of the panel:

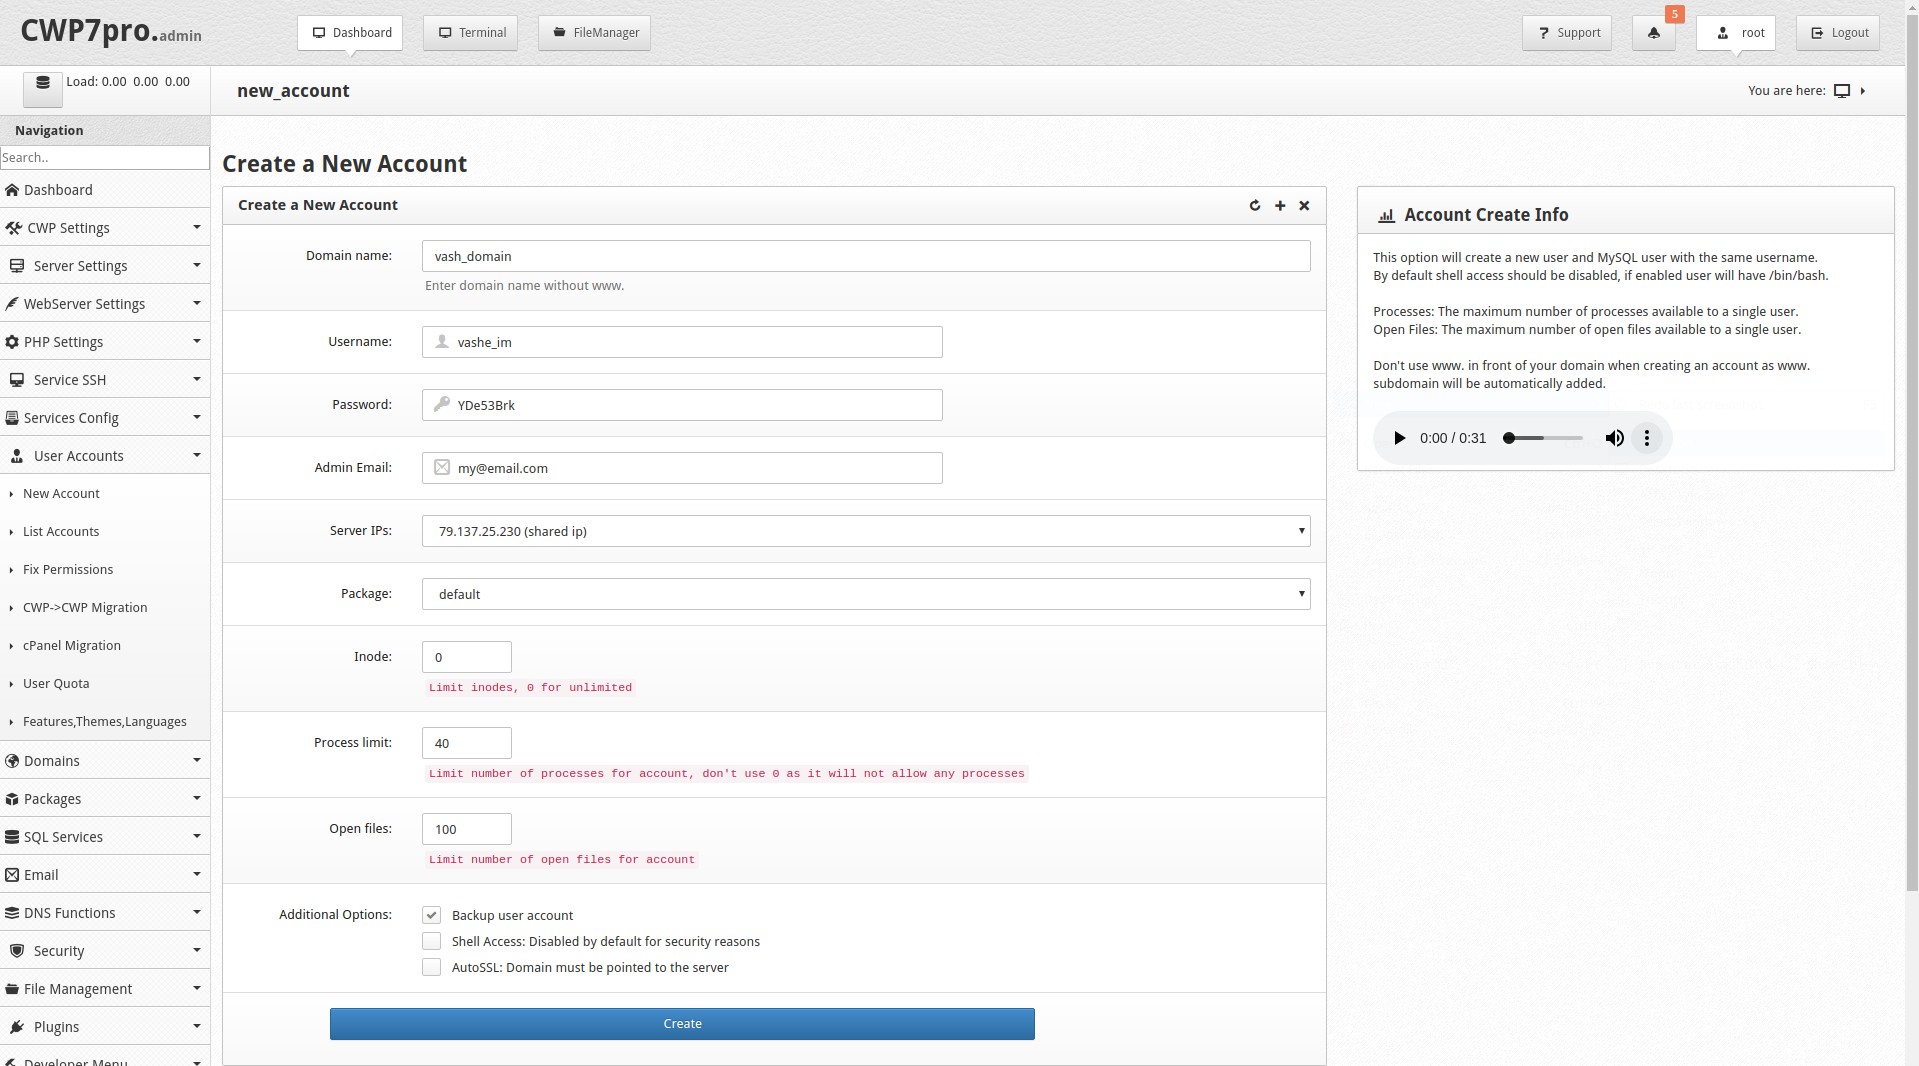
To add your domain, you need to create a new account in the panel (other than root); when creating a new account, we link your domain to it.
To do this, go to the menu User Accounts => New Account
Fill in the required fields and click Create.
Save your new account access data with a new name:

After, with a new login and password, you connect to the server (ftp, sftp), then go to the public_html folder - this is the root folder for your site and you need to upload your site files into it.
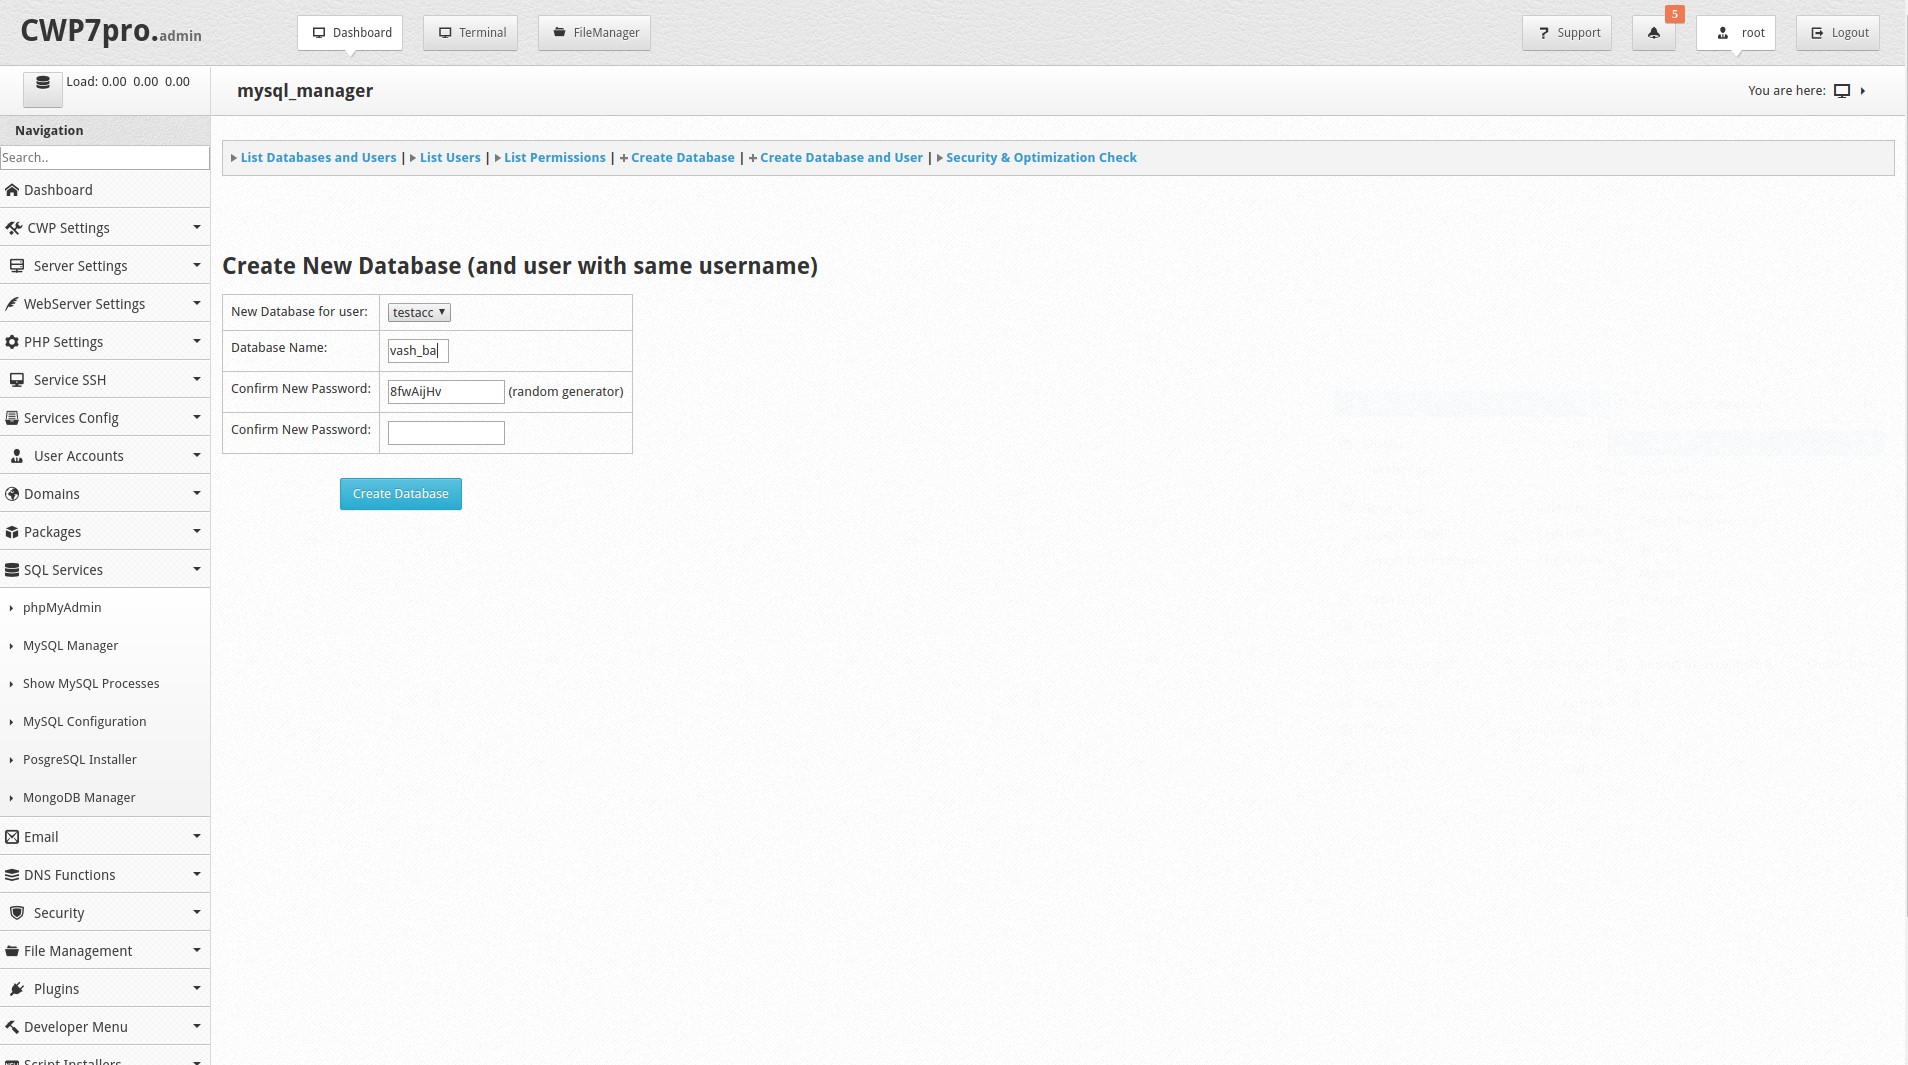
If necessary, you can create a database for your site:
To do this, go to the SQL Services menu => MySQL Manager and click Create Database and User.

Fill in the required fields and click Create Database.
We remember our database access data.
After you have completed the work of uploading site files to the server and specified access to the database in the site settings, you can check the functionality of your site.


